
This is the first part of a tutorial for a quilted bag. I haven't been able to get a photo of the finished thing, but heres one side.

Equipment
1 fat quarter black
1 fat quarter pattern A
1 fat quarter pattern B
1 fat eighth patter C
1 metre lining fabric
Wadding, about 0.75 metres
Pins
Sewing machine
Tailors chalk
Black thread
How to

Draw 36 2 inch times 4 inch rectangles on the BLACK fabric with the tailors chalk. Cut them all out.
Draw 18 4 inch times 4 inch sqares, 9 on fabric A and 9 on fabric B, then 16 2 inch times 2 inch squares
C. Cut them all out.

 Arrange 9 of the big squares in a pattern going ABA, BAB, ABA
Pin a black rectangle and the first square RS together.
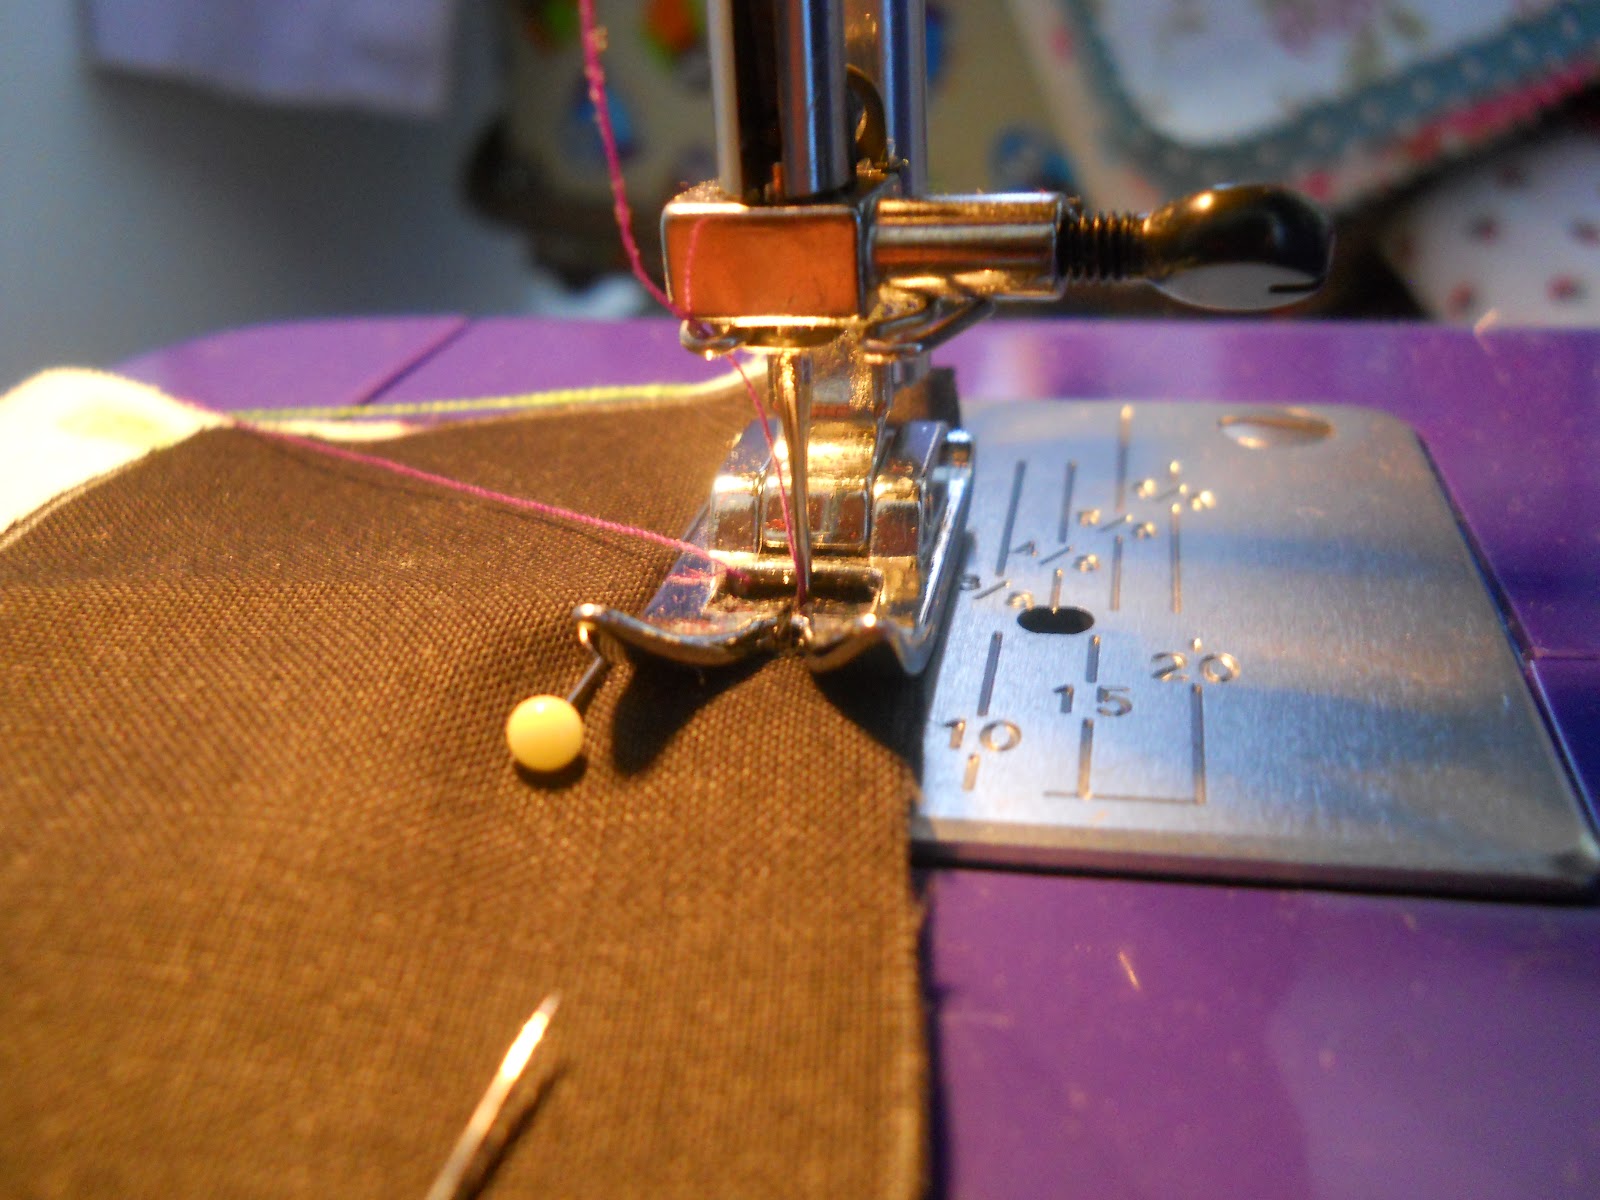 Sew them together with 1/4 inch seam allowance.
Continue adding rectangles and squares until you get a strip looking like this.
 Take a black rectangle and small square- pattern C- and sew them together, RS together.
 Time to press all your seams! Lay them out like this on your ironing board, and flip over the leftmost one.


 Pin your first 2 strips RS together.
Sew along the seam, with a 1/4 inch seam allowance.
 Continue to sew the strips together, and iron the seams. For the other half of the bag, do the same as above, but place the 4 inch squares BAB, ABA, BAB.
No comments:
Post a Comment
Thanks for all your LOVELY comments!! Any questions, pop them here!